⚙️ Mining Monero (XMR) on Raspberry Pi 3 🍇
In this guide, I show how to mine Monero (XMR) using the XMRig miner on a Raspberry Pi 3.
This is mostly for fun and testing — as performance on small ARM boards is quite limited 🧩💻.
🎥 Video Tutorial
🧰 System Preparation
- 🧠 Download and install Armbian on your Raspberry Pi 3.

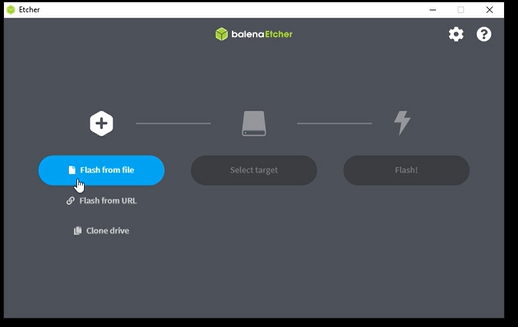
- 💾 Write the Armbian image to an SD card using Balena Etcher.
- 📡 Insert the SD card into your Raspberry Pi, power it on, and complete the initial setup.
- 🌐 Check the IP address of your Raspberry Pi for SSH access.
🔧 Connecting and Updating
- 🔌 Connect via SSH and update the package list:
sudo apt update
 6. ⬆️ Upgrade installed packages:
sudo apt upgrade
 7. ⚙️ Install required software:
sudo apt install git wget proot build-essential cmake libuv1-dev libmicrohttpd-dev libssl-dev

🧩 Building XMRig
- 📥 Clone the XMRig repository:
git clone https://github.com/xmrig/xmrig
 9. 📂 Enter the cloned folder:
cd xmrig
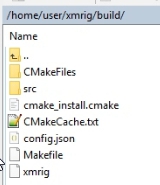
 10. 🏗️ Create a build directory:
mkdir build

cd build
 11. ⚙️ Compile XMRig (disable HWLOC for ARM):
cmake -DWITH_HWLOC=OFF ..

make

⚙️ Configuration and Run
- 📝 Edit the configuration file — generate one on your preferred mining pool website and upload it to the Raspberry Pi (e.g., using WinSCP).
- 🔒 Make the miner executable:
chmod +x xmrig
 14. ▶️ Run the miner:
./xmrig
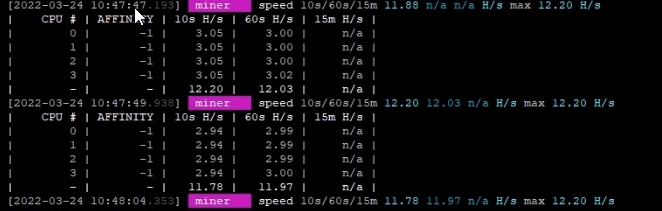
⚡ Performance Result
🚀 Average mining speed: ~12 H/s ⛏️
🐢 Not fast enough for profitable mining, but a great experiment and learning project!