🎥 Video Tutorial
🚀 Step 1: Install F-Droid
🔎 First, install F-Droid
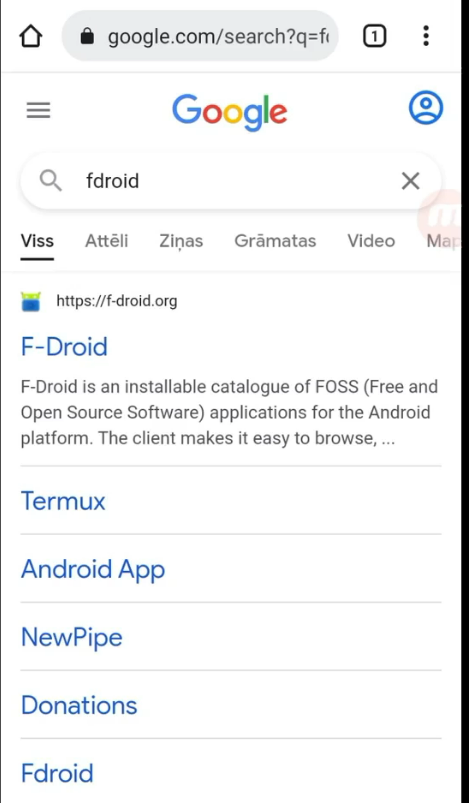
👉 Just search it in Google
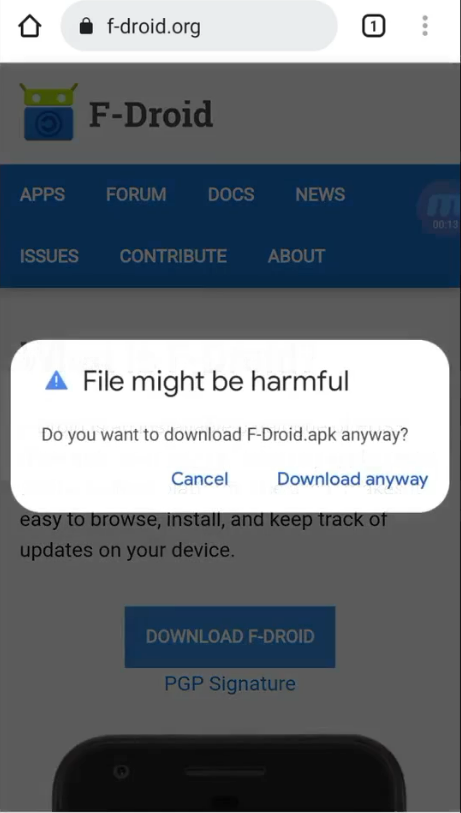
⬇️ Download and install
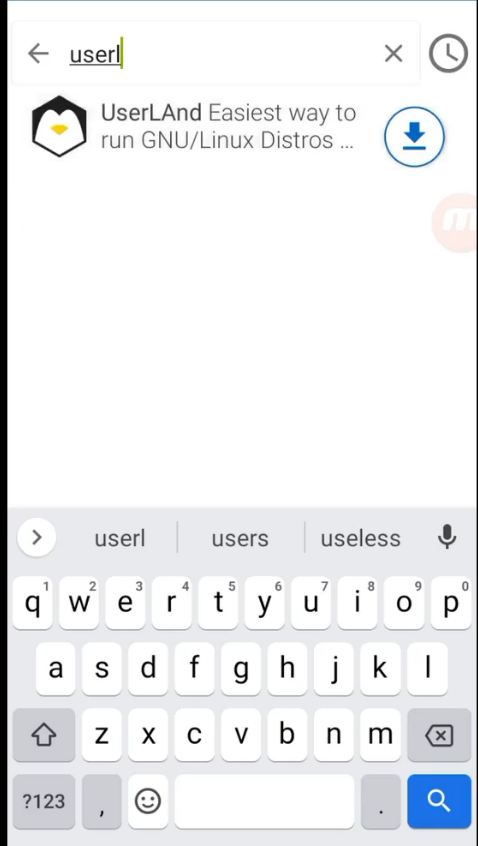
📲 Step 2: Install UserLAnd
▶️ Open F-Droid
🔍 Find UserLAnd
⬇️ Download and install
🐧 Step 3: Setup Ubuntu
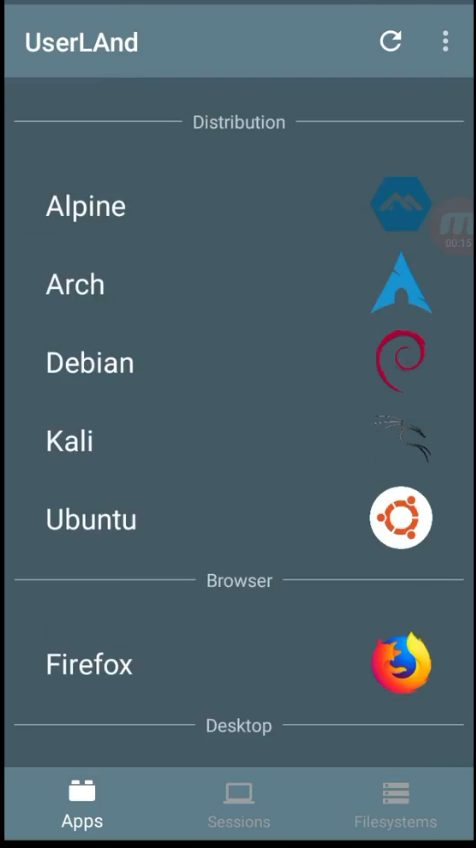
▶️ Run UserLAnd
🐧 Choose Ubuntu
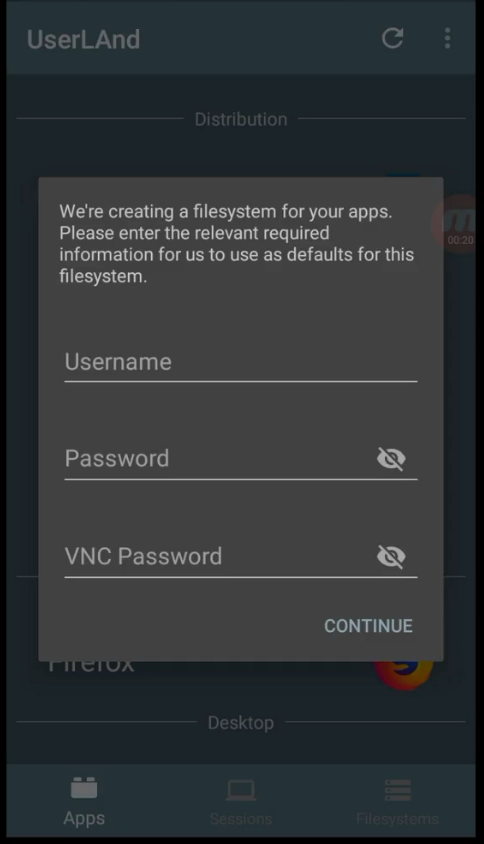
🧑 Create:
- username
- SSH password 🔐
- VNC password 🔐
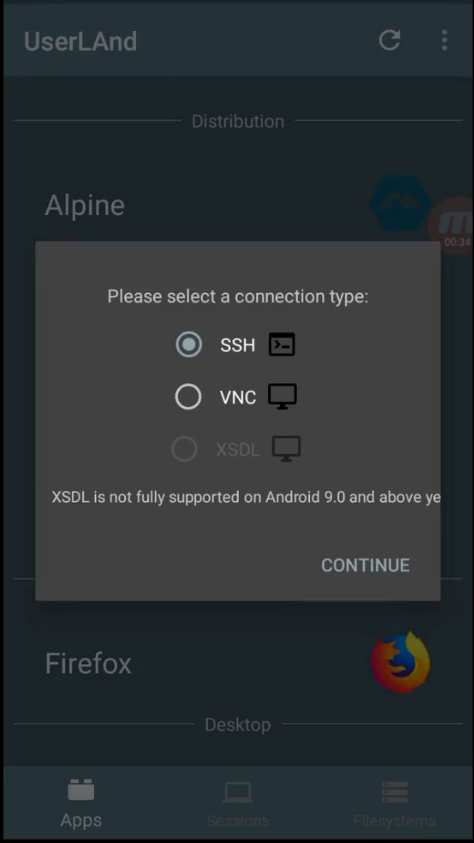
👉 Choose SSH

⏳ Wait until system starts
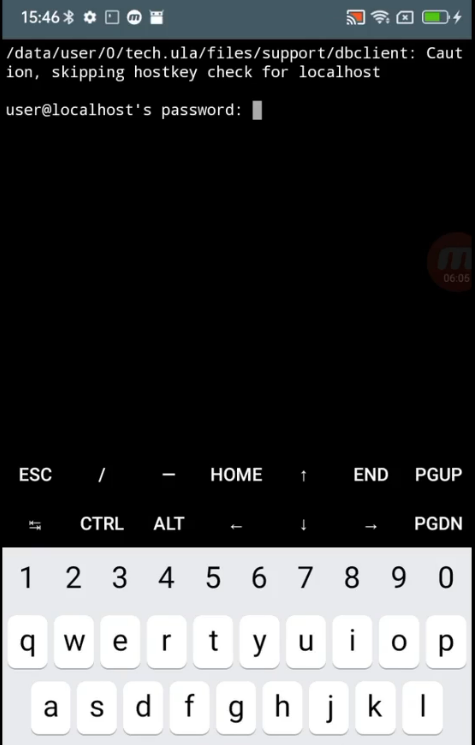
🔑 Enter your password

🔄 Step 4: Update system
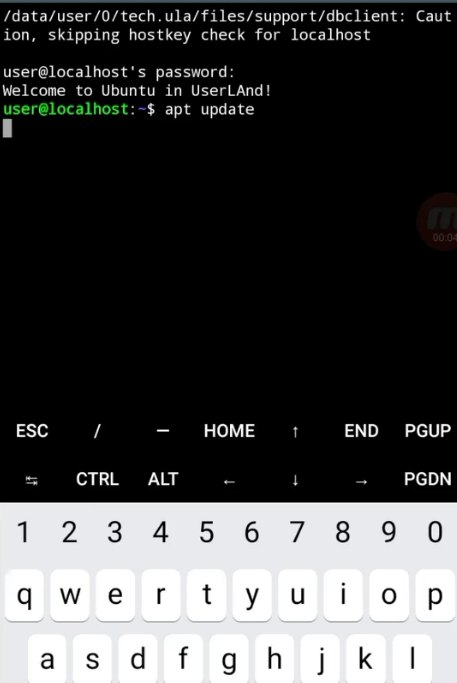
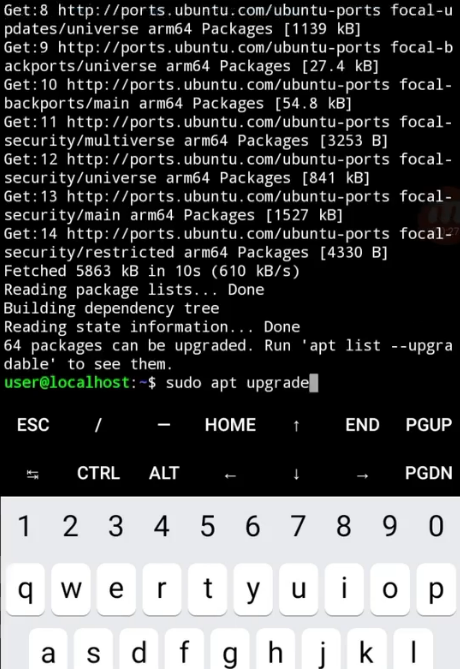
⬆️ Update packages:
apt update

⬆️ Upgrade packages:
sudo apt upgrade

📦 Step 5: Install required packages
sudo apt install git proot wget build-essential cmake libuv1-dev libmicrohttpd-dev libssl-dev

💻 Step 6: Download XMRig miner
Clone from GitHub:
git clone https://github.com/xmrig/xmrig

📂 Enter folder:
cd xmrig

📁 Create build directory:
mkdir build
cd build

⚙️ Configure:
cmake -DWITH_HWLOC=OFF ..
🛠️ Build:
make
🌐 Step 7: Check phone IP
Install net-tools:
sudo apt install net-tools
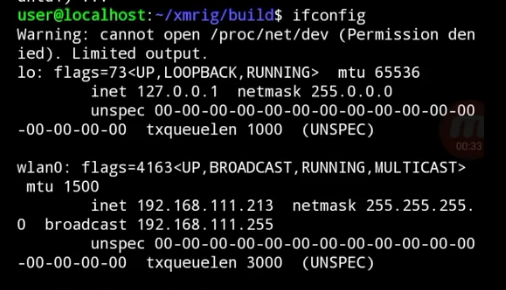
Check IP:
ifconfig
📡 Example: 👉 wlan0 → 192.168.111.213
⚙️ Step 8: Create mining config
💻 On PC:
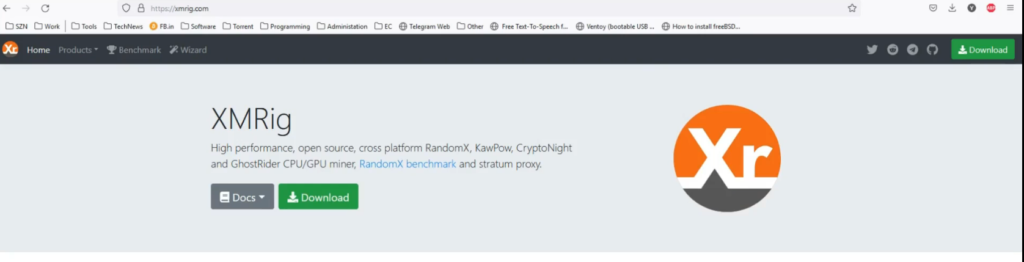
🌐 Open XMRig official site
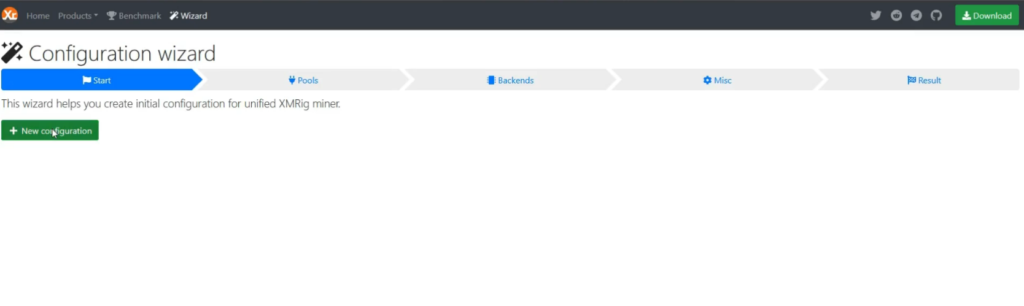
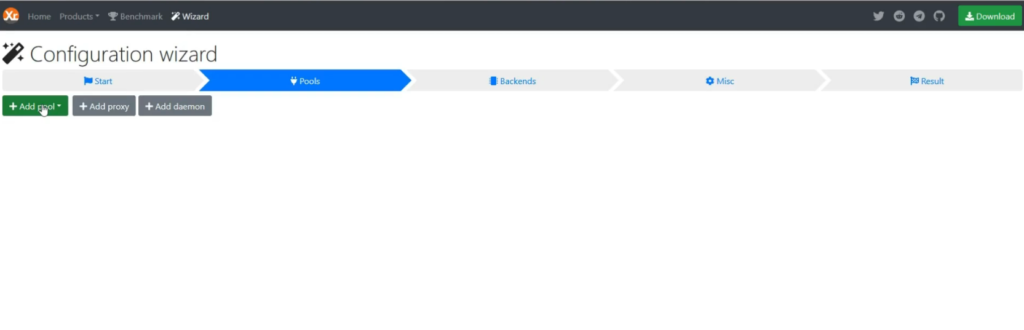
👉 Click Wizard
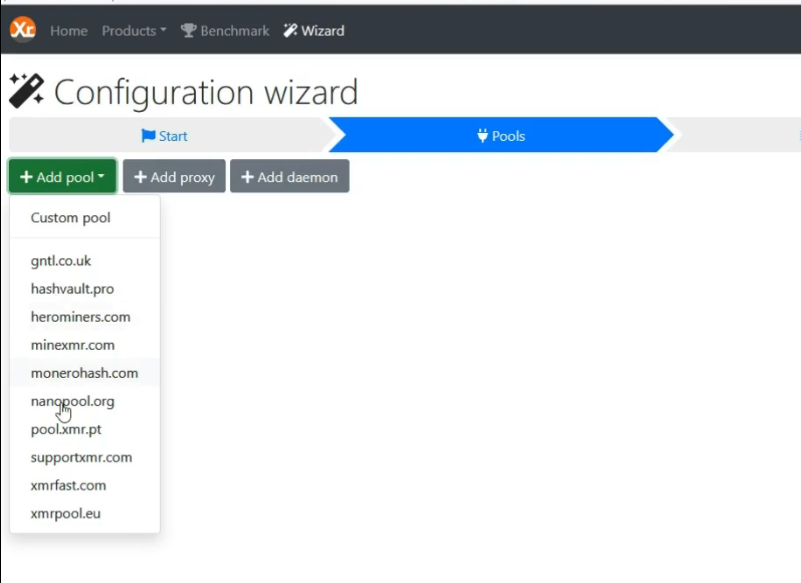
➕ New configuration
➕ Add pool
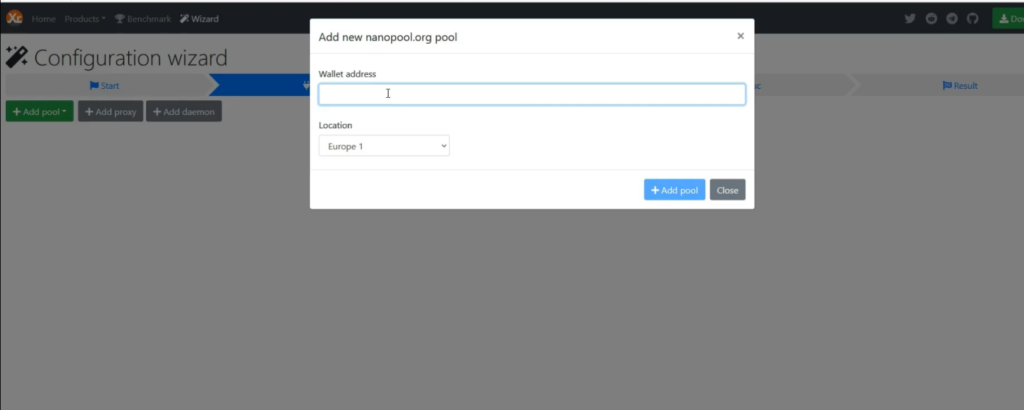
🌊 Example pool: nanopool.org
💰 Enter your wallet address
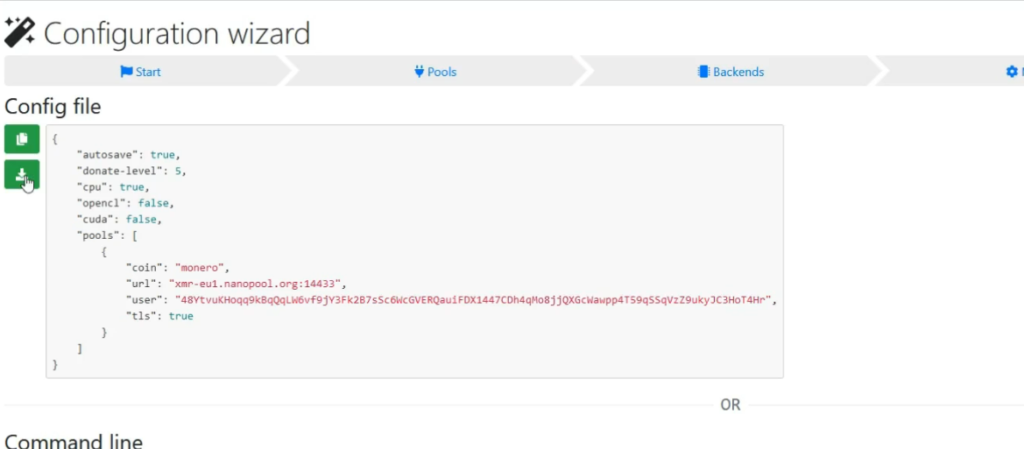
⬇️ Download 'config.json'

🔁 Step 9: Copy config to phone
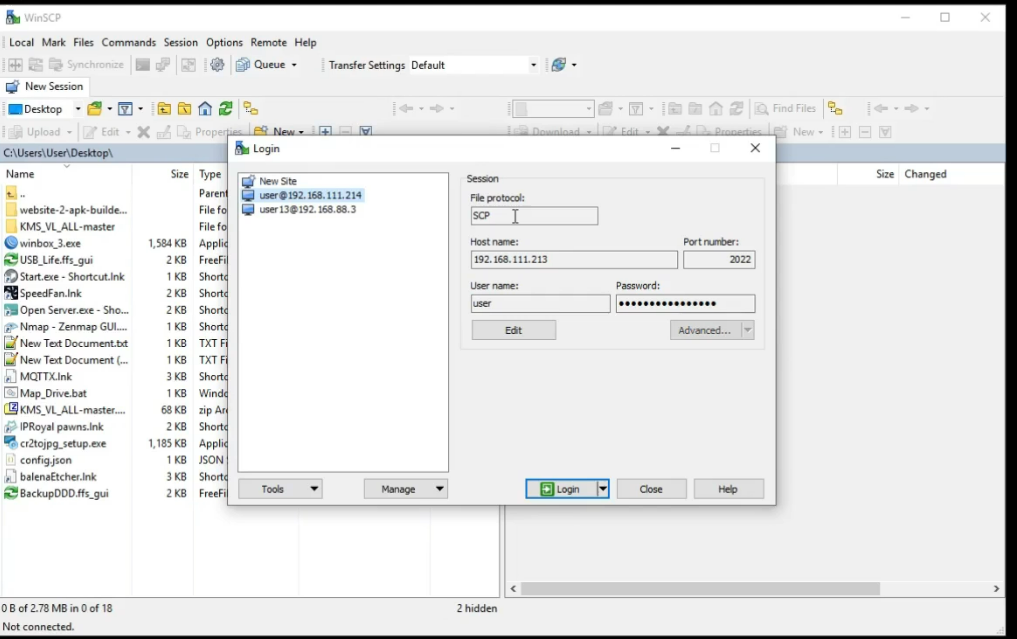
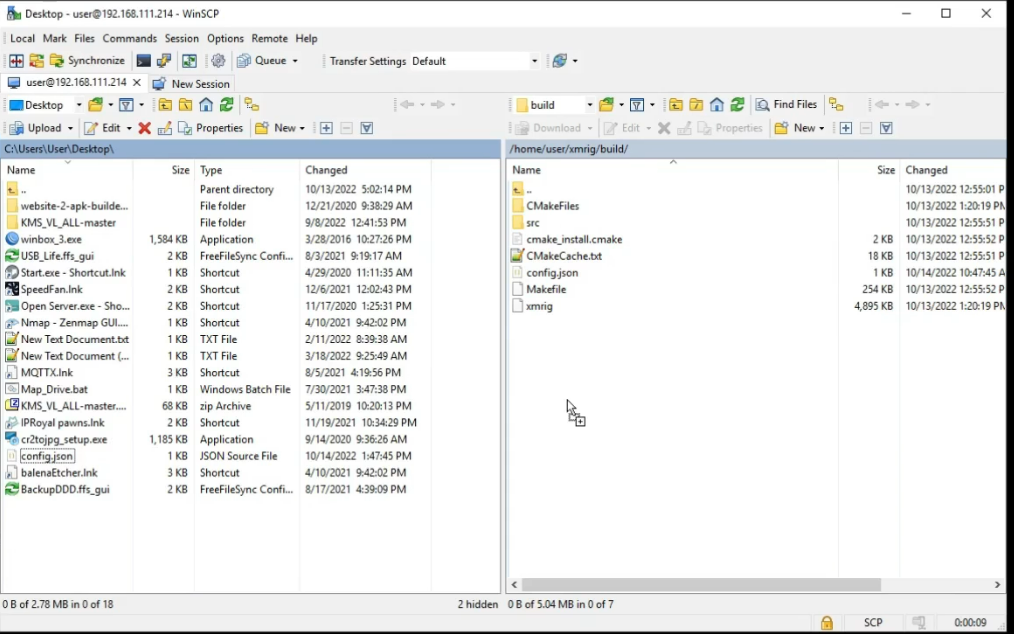
💻 Use WinSCP
🔧 Settings:
* Hostname → phone IP (from ifconfig)
* Port → 2022
* Username → from UserLAnd
* Password → SSH password
📂 Copy file to:
/home/yourusername/xmrig/build
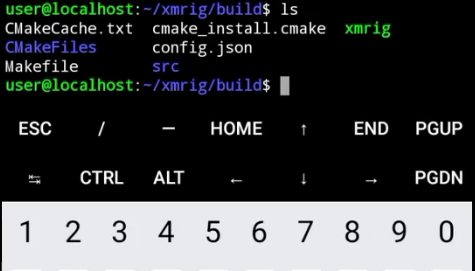
📋 Check file:
ls
⛏️ Step 10: Start mining
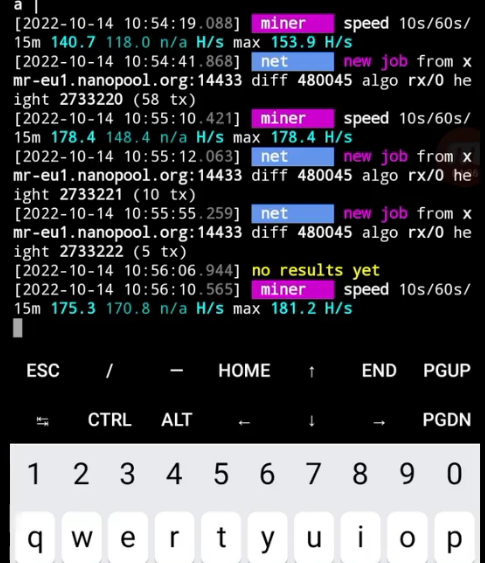
./xmrig
🔥 Miner starts!
📊 On Blackview BV6600 Pro max hash rate ≈ 182 H/s