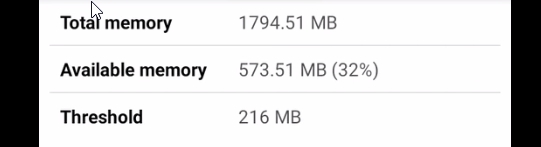
Today I will try to run Monero (XMR) mining on a Nokia 3.1 Android phone with 2 GB RAM. This phone uses a MediaTek MT6750V/W CPU.
🎥 Video Tutorial
📲 Installing Linux Environment
I preinstalled the UserLAnd application to run an Ubuntu virtual machine on Android.
How to use UserLAnd can be found in my other posts.

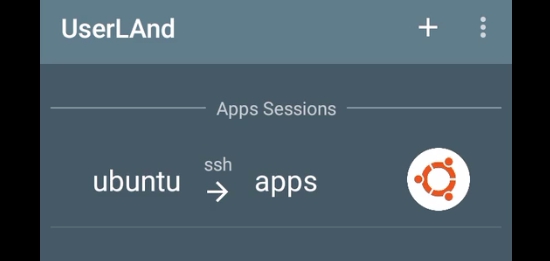
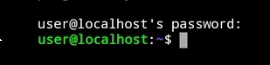
After starting the virtual machine, it asks for the password created during setup.
🔄 Updating Ubuntu
First update repositories:
apt update

Next upgrade packages:
sudo apt upgrade

🛠️ Installing Required Software
Install all required packages:
sudo apt install git wget proot build-essential cmake libuv1-dev libmicrohttpd-dev libssl-dev

⛏️ Downloading and Compiling XMRig
Clone miner from GitHub:
git clone https://github.com/xmrig/xmrig
 Enter cloned directory:
cd xmrig
 Create build directory:
mkdir build
 Enter build directory:
cd build
 Run CMake:
cmake -DWITH_HWLOC=OFF ..
 Compile miner:
make

🌐 Checking Virtual Machine IP Address
After compilation, check the IP address of the virtual machine:
ifconfig
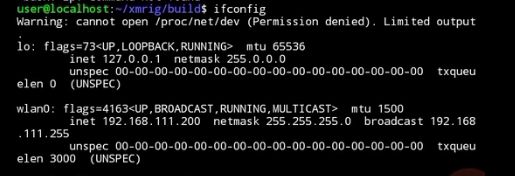 Example IP address: 192.168.111.200
Your IP address will most likely be different.
Example IP address: 192.168.111.200
Your IP address will most likely be different.
⚙️ Creating XMRig Config File
Go to the official XMRig website
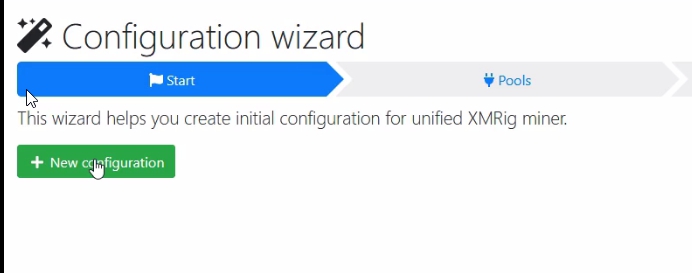
 - Press Wizard
 - Press New configuration
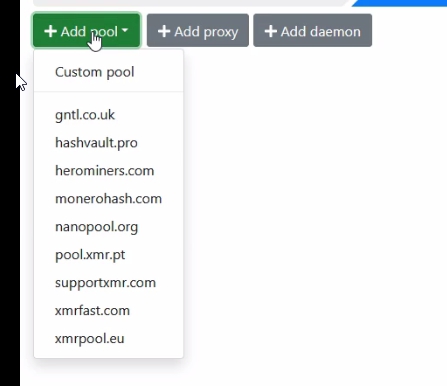
 - Press Add pool
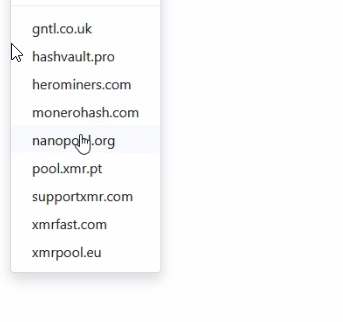
 - I used Nanopool, but you can choose another mining pool
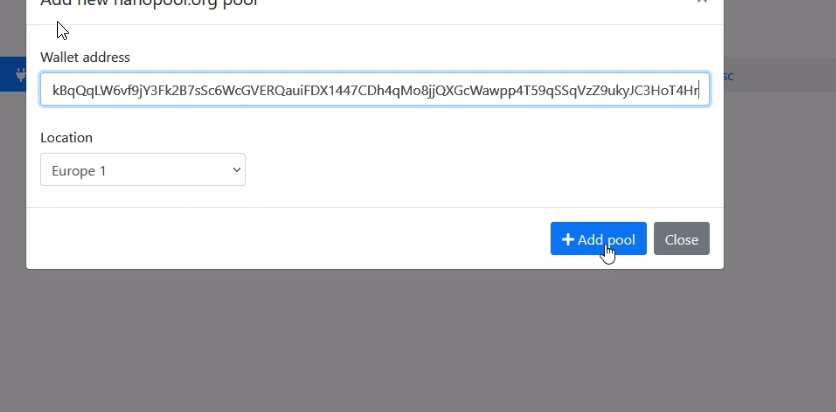
 - Enter your Monero (XMR) wallet address
 - In the last tab download the
 config.json file
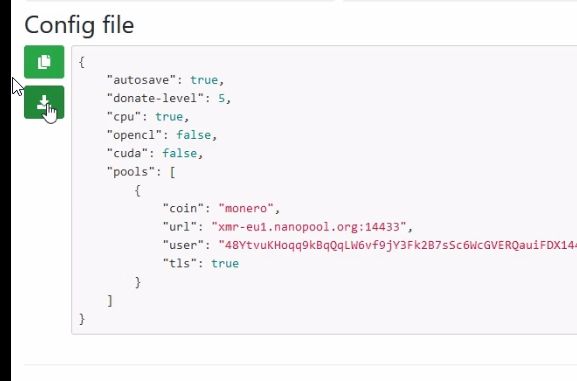
📁 Copying Config File to Android VM
For copying the config file to the virtual machine I used WinSCP client.
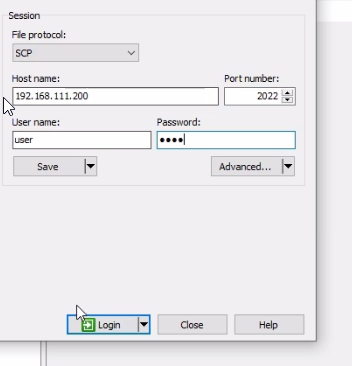
 Use these settings:
Protocol: SCP
Host name: IP address of virtual machine
Port number: 2022
User name: Username created during VM setup
Password: Password created during VM setup
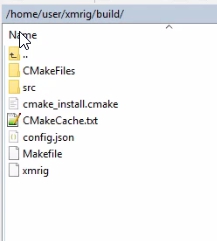
 Copy
Copy config.json file into:
/home/user/xmrig/build
▶️ Running the Miner
Start miner with command:
./xmrig

📊 Mining Performance
📱 Nokia 3.1 average mining speed:19 H/s
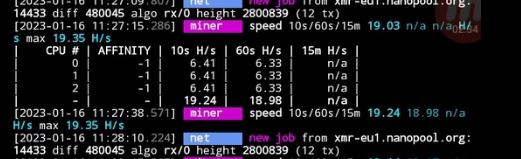 😅 This is extremely slow, so mining XMR on the MediaTek MT6750V/W CPU is mostly for testing and learning purposes, not for profit.